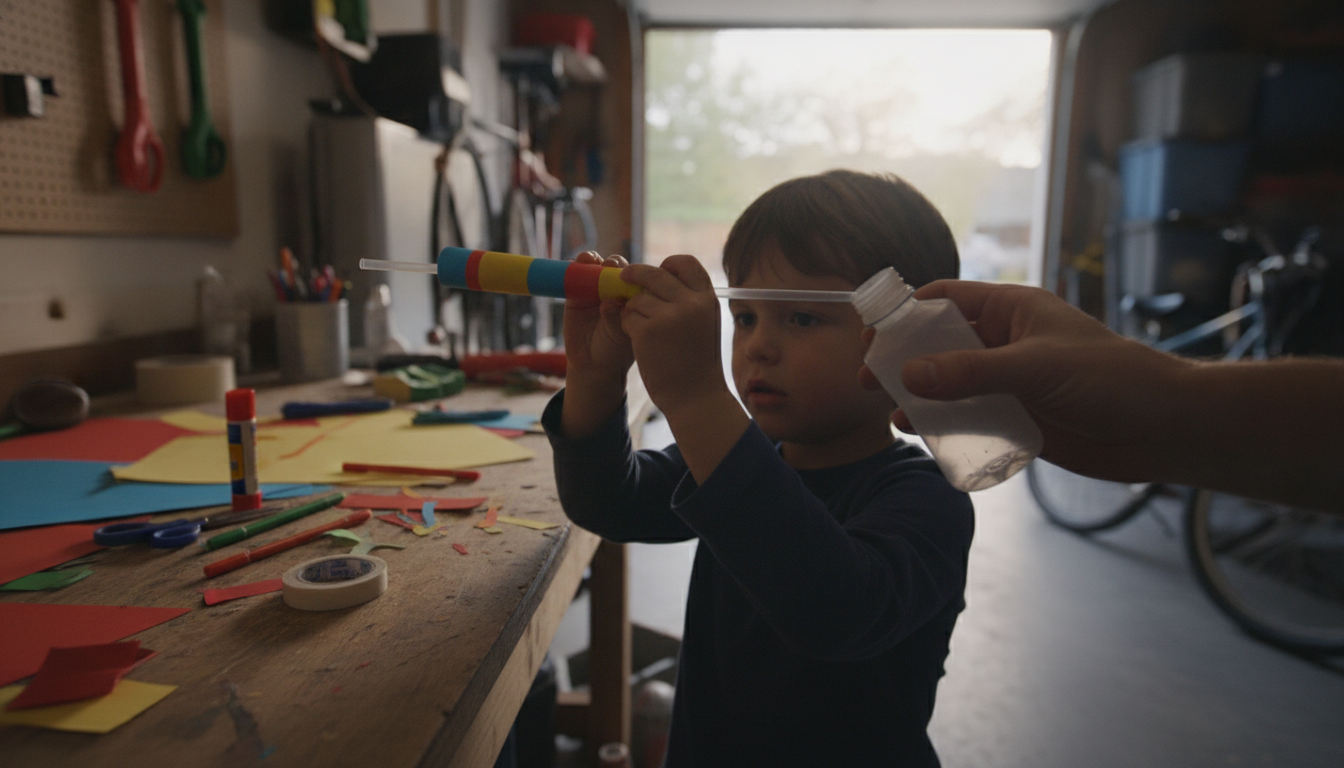
A kid-friendly flying rocket is easiest to build when you keep the materials simple, the steps short, and the launch method safe. A classic option is a straw-and-paper “air rocket” that flies across the yard using only your breath—no fire, no chemicals, and no mess.
For most ages, an air-powered paper rocket is the best starting point. It uses lightweight paper, tape, and a drinking straw to create a rocket body that can launch repeatedly. If you want extra distance, you can make the body tighter and smoother so less air escapes during launch.
Grab cardstock or thick paper, scissors, tape, and one straight straw. Optional add-ons include markers for decorating and a small piece of modeling clay to adjust the nose weight. Using thicker paper helps the rocket hold its shape and fly more consistently.
Wrap the paper around the straw (without taping it to the straw) to form a tube, then tape the seam so it stays rolled. Pinch and tape one end closed to make the nose. The other end stays open so air can push through and send the rocket forward.
Cut out two to four small fins and tape them near the open end. Fins help stabilize flight, especially if kids tend to blow hard or launch at an angle. If the rocket wobbles, add a tiny bit of clay to the nose; if it dives quickly, remove weight or reduce the fin size.
Slide the rocket off the straw, place the straw into the open end of the rocket, aim away from faces, and blow in one steady puff. Try different fin shapes, body lengths, and nose weights to see what flies farthest. For a more detailed walk-through and variations, follow the full guide here: https://alazare.com/how-to-make-a-flying-rocket-for-kids/.
Paper or cardstock, tape, and a straw are among the safest options because they avoid heat, flames, and pressurized containers. Stick to soft, lightweight parts and supervise scissor use.

Leave a comment