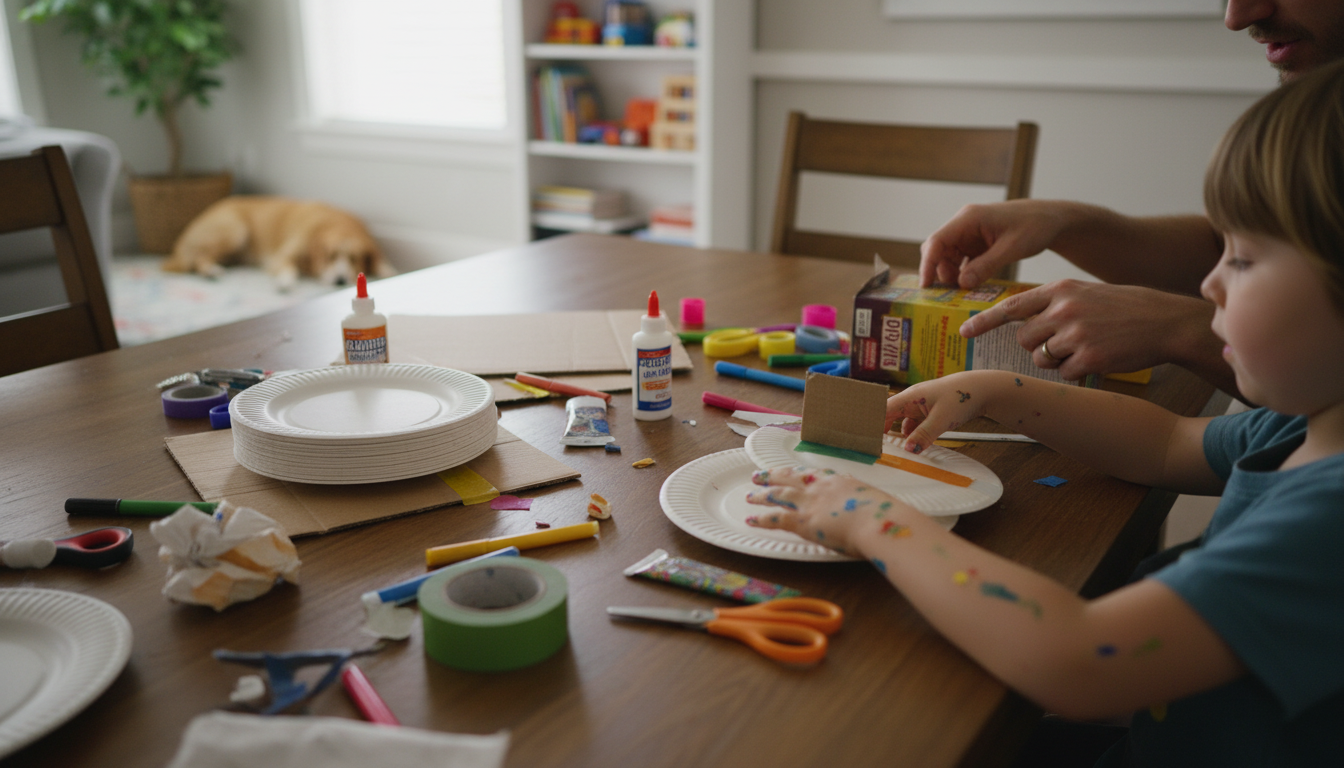
A sturdy flying disc is easy to make with a few household supplies. The key is to create an even, circular shape with a rim that adds stiffness, so the disc can glide instead of wobble. Below are two reliable DIY options—one quick for casual play and one tougher for outdoor throwing.
Grab two paper plates (the coated kind works best), scissors, a stapler or strong tape, and a few coins or a metal washer for weight. Place the plates bottom-to-bottom (so the raised rims face outward). If you want better flight, tape 2–4 coins evenly spaced around the center area—balanced weight matters. Then staple or tape the rims together all the way around, keeping the circle smooth. Finally, run a band of tape around the edge to reduce snags and help it slice through the air.
Cut two identical circles from corrugated cardboard (about 8–10 inches across). Make a rim by cutting a long strip of cardboard 1–1.5 inches wide and bending it into a ring. Glue the strip around the edge of one circle, then glue the second circle on top like a sandwich. Press it under a few books while it dries. Once set, wrap the rim with duct tape to reinforce the edge and protect hands during catches.
Keep everything symmetrical, especially any added weight. A slightly heavier rim helps stability, while a smooth edge improves glide. When throwing, hold it flat, use a gentle snap, and release with a slight upward angle.
For more detailed steps and variations, visit How to Make a Flying Disc at Home.
Stiffer materials with a reinforced rim fly more consistently because they hold their shape in the air. A smooth taped edge and balanced weight near the rim can also improve stability and distance.
Leave a comment