A smart home theater projector can turn a living room, bedroom, or backyard wall into a big-screen experience—without dedicating space to a permanent TV. The best results come from a few practical choices: planning for light, placing the projector where it can stay aligned, dialing in focus before digital corrections, and choosing audio that matches how you watch. Below is a real-world guide to setup, picture tuning, connections, and keeping performance consistent over time.
“Smart” features are less about buzzwords and more about reducing friction between sitting down and pressing play. Depending on the model, smart functionality can include built-in streaming apps, a TV-style home screen, and wireless connectivity so you can keep the cable clutter under control.
If you plan to use an AV receiver or a dedicated streaming device, smart features are still useful—especially auto-focus and quick input switching.
Room setup determines most of what people describe as “good picture quality.” Before touching a single setting, make sure the space helps the projector succeed.
| Room situation | Recommended approach | Why it helps |
|---|---|---|
| Mostly dark room | Use a standard matte white screen or smooth light-colored wall | Maximizes contrast without requiring extra gain |
| Some lamps/ambient light | Add light control (curtains) or consider an ALR screen | Reduces washout and keeps blacks from turning gray |
| Short on space | Choose flexible placement and use keystone sparingly | Less digital correction preserves sharpness |
| Shared space living room | Use a portable stand/cart and quick-connect cabling | Makes setup and teardown painless |
For deeper viewing-distance and screen guidance, resources like ProjectorCentral can help you sanity-check screen size versus seating.
Many “blurry projector” complaints trace back to geometry and placement, not the lens. The fastest path to a clean image is to align physically first, then use digital tools only as finishing touches.
A simple routine that works: project a menu screen with text, focus until the smallest letters look crisp in the center, then adjust placement until the corners match as closely as possible. Only then should you use keystone or screen-fit features for minor clean-up.
Connections shape day-to-day convenience. Even a great-looking image can feel frustrating if audio is out of sync or switching sources is a hassle.
When you’re sorting out which cable does what, the official overview at HDMI.org is a reliable reference for standards and capabilities. For surround formats and home theater audio basics, Dolby is also a helpful starting point.
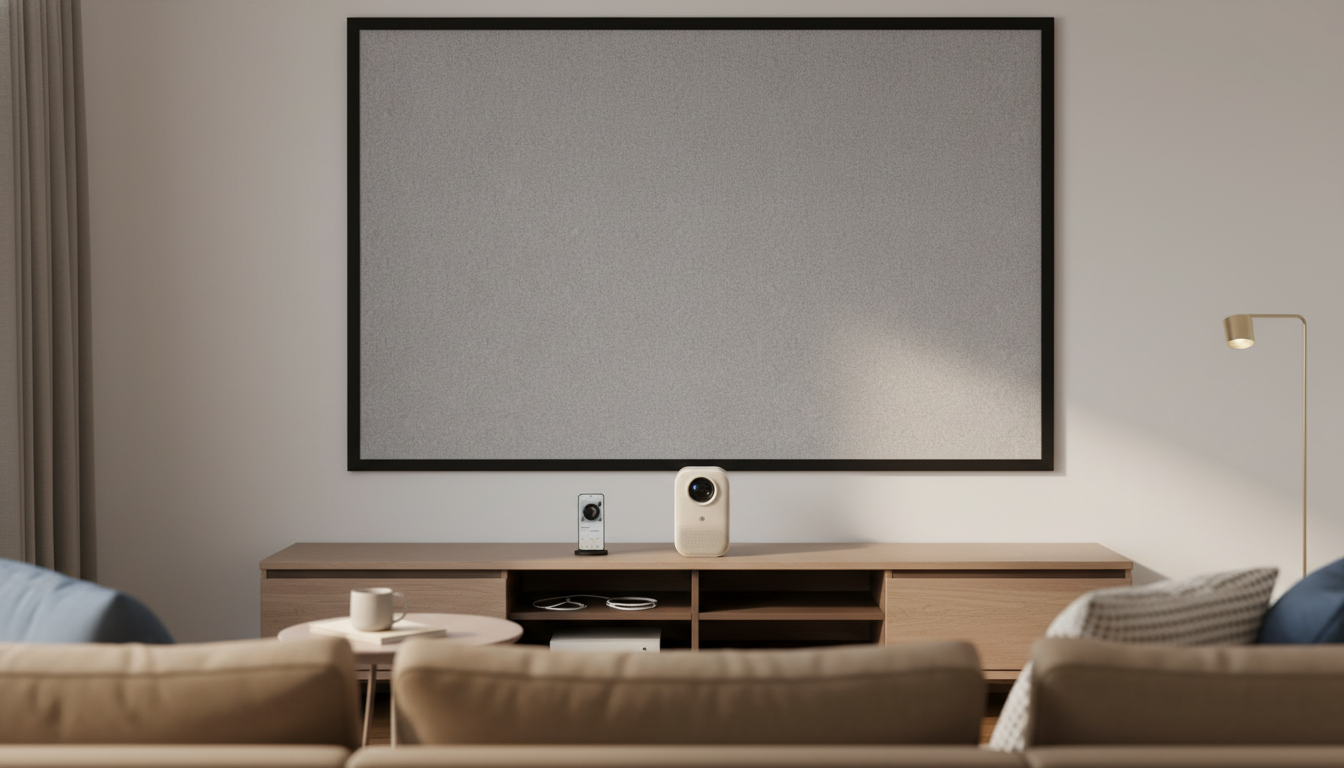
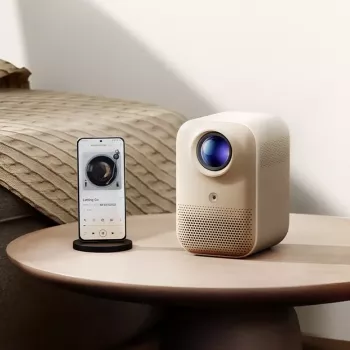
If the goal is a flexible big-screen setup that’s easy to use in shared spaces, a single-device smart projector can be a strong fit. The Smart Home Theater Projector is well suited for movie nights, casual sports, and living-room setups that can be packed away when not in use.
For longer viewing sessions—especially in darker rooms—some people prefer added comfort from eyewear designed to reduce harsh light. The Anti-Blue Light Gaming Glasses can be a simple add-on for extended screen time.
| Item | Use case | Link |
|---|---|---|
| Smart Home Theater Projector | Main big-screen display for home viewing | View product |
| Anti-Blue Light Gaming Glasses | Added comfort for longer screen time | View product |
Yes for many homes, especially if you can control light in the room. The most consistent experience comes from repeatable placement, a suitable screen or wall, and better external audio for clear dialog.
Digital keystone can reduce sharpness and effective resolution because the image is being reshaped. Physical alignment first and minimal keystone second is usually the best approach.
A soundbar connected via HDMI ARC/eARC (if supported) is typically the biggest upgrade over built-in speakers. If ARC/eARC isn’t available, routing your streaming device through a soundbar or receiver can also improve clarity and sync.


Leave a comment